How to build a chicken run and coop from recycled materials
Having your own backyard chickens is one of the easiest and most satisfying ways to live more sustainably.
Whether you have a lot of space or a smaller backyard, there are so many advantages to building your own chicken coop!
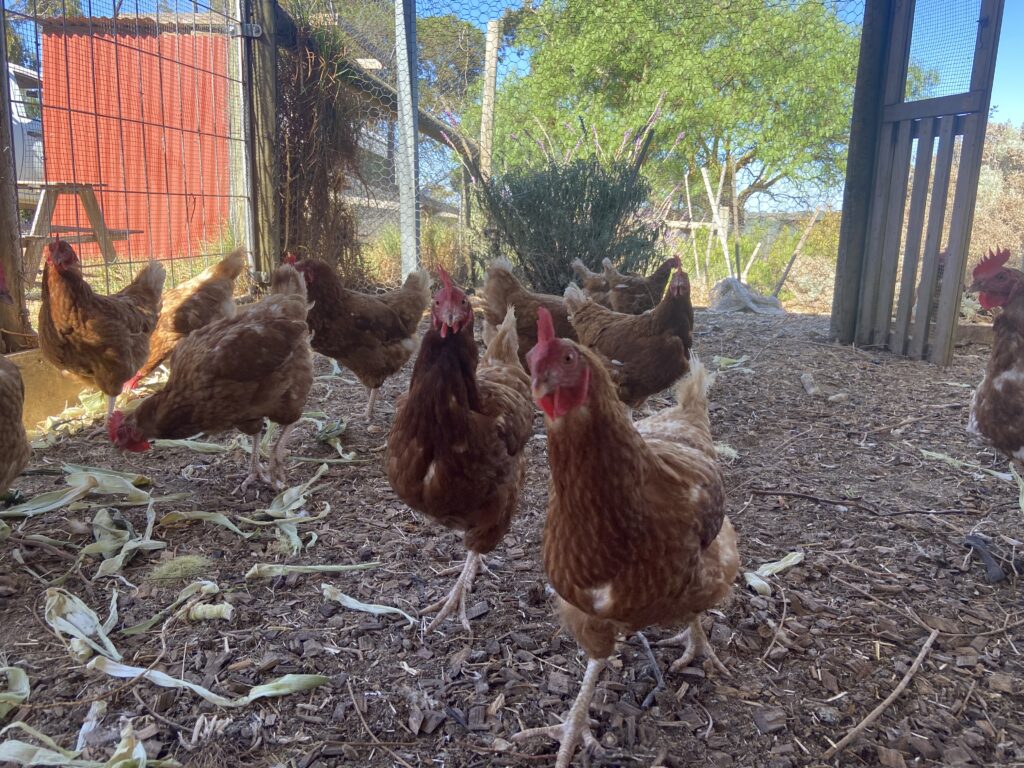
Using recycled materials and upcycling can help to make it cost effective and better for the environment.
Here are some things we learnt in designing and making our new chicken coop.
Starting from scratch
When we moved to our farm we inherited 17 chickens and roosters of varying breeds. Most were friendly and happy (except for one coop of crazy Frizzles and a large cock called Magnifico) but we got very few eggs from the hens.
The previous owner had also built several coops that were joined together with narrow doors. It was a set up that we all struggled with, especially in the middle of winter and with my big pregnant belly to squeeze through!
The location of the coops was also inconvenient. They were built on an area that was flat with wonderful views. There was nothing for it: we needed to knock the whole lot down and begin again!
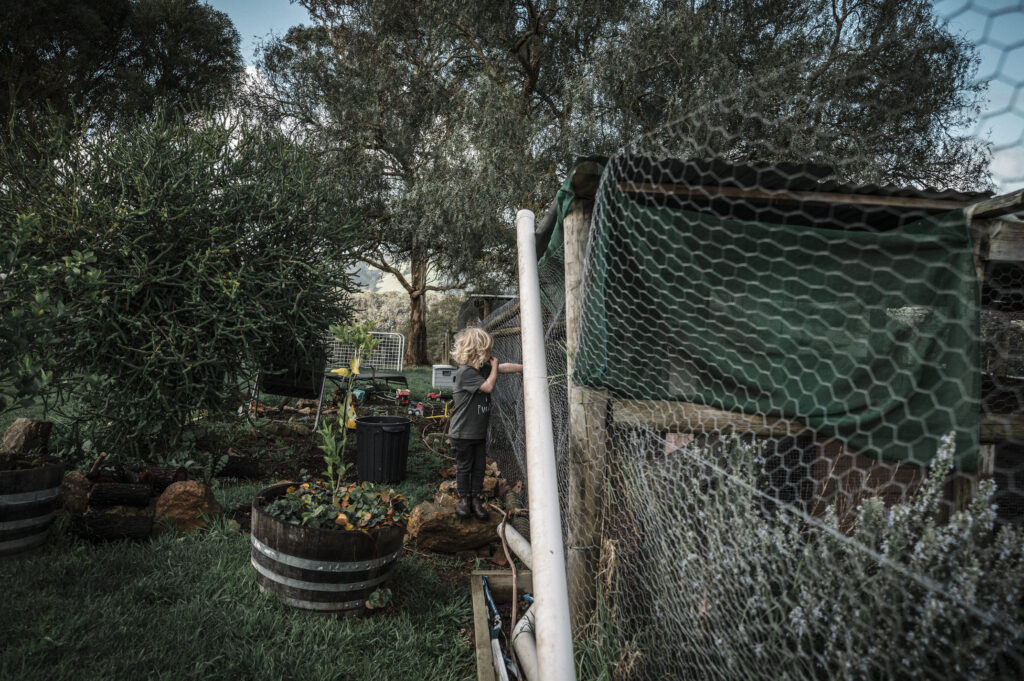
Deciding to reuse and recycle materials
The decision to start from scratch was easy. We had a few places that we had thought could work to begin our new chicken coop and run, but none of them seemed quite right.
We had a number of big projects on the go, so our chicken coop ideas went on hold for a while until we had the headspace and energy to get started.
What we were sure of, though, was that we wanted to reuse as much as we could.
The main, original chicken house was a great structure. We knew that even though we would be starting from scratch in a new part of the property, we wanted to repurpose a lot of the lumber and materials.
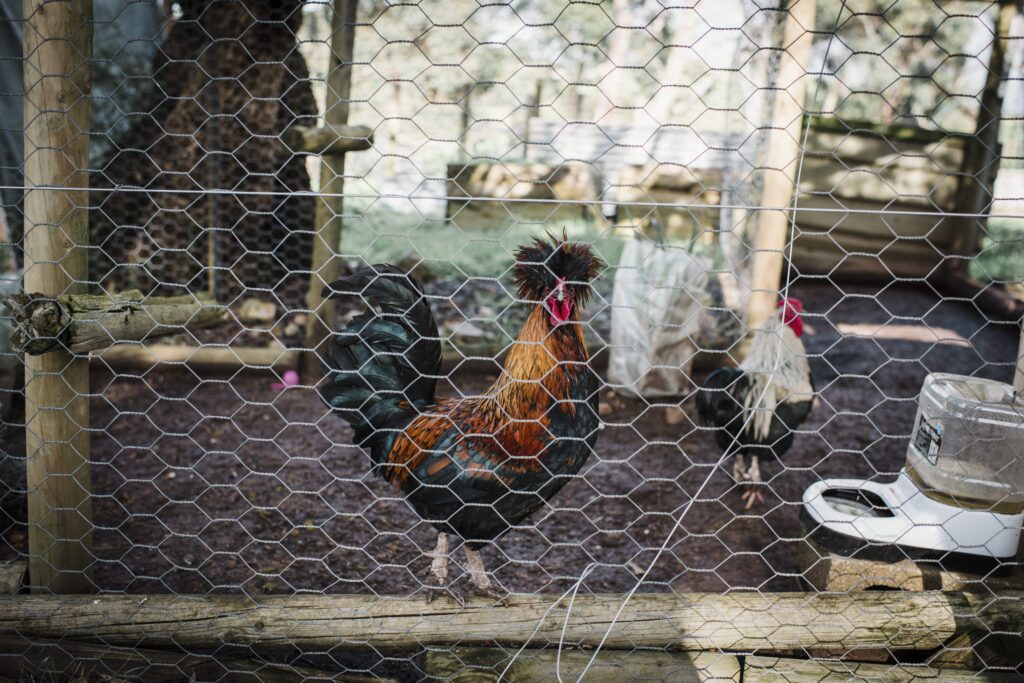
Recycling materials meant that we could:
- save a lot of money
- have fewer trips to buy materials
- be more environmentally conscious
- work our design around what we already had to use, and
- think creatively to make the most of what we already had.
Planning and brainstorming chicken coop ideas
Our exisiting chicken coops had so many design flaws that we had a clear idea of what we DIDN’T want to repeat!
Sam and I both wanted easy access and enough room for a large flock (around 30 birds). Proper ventilation and safety for our hens from digging predators like foxes were also top priorities.
Once we’d decided on the number of birds we wanted, we could make sure we had ample space in the outdoor run. We also wanted a caged area so we could go away and know that our hens would be secure.
We trawled Pinterest and Instagram for coop designs and talked often about what we both had in mind.
One thing we’ve learnt is that regular, clear communication in the planning stages of a big project is essential!
We also had to be realistic. If we were going to reuse existing materials and keep costs down, there would need to be some compromises.
Design inspiration for our chicken coop
Our essential requirements for our DIY chicken coop included:
- Simple systems for feeding
- A method for easy watering (this is still a work in progress!)
- Natural light from a screen door and an extra window
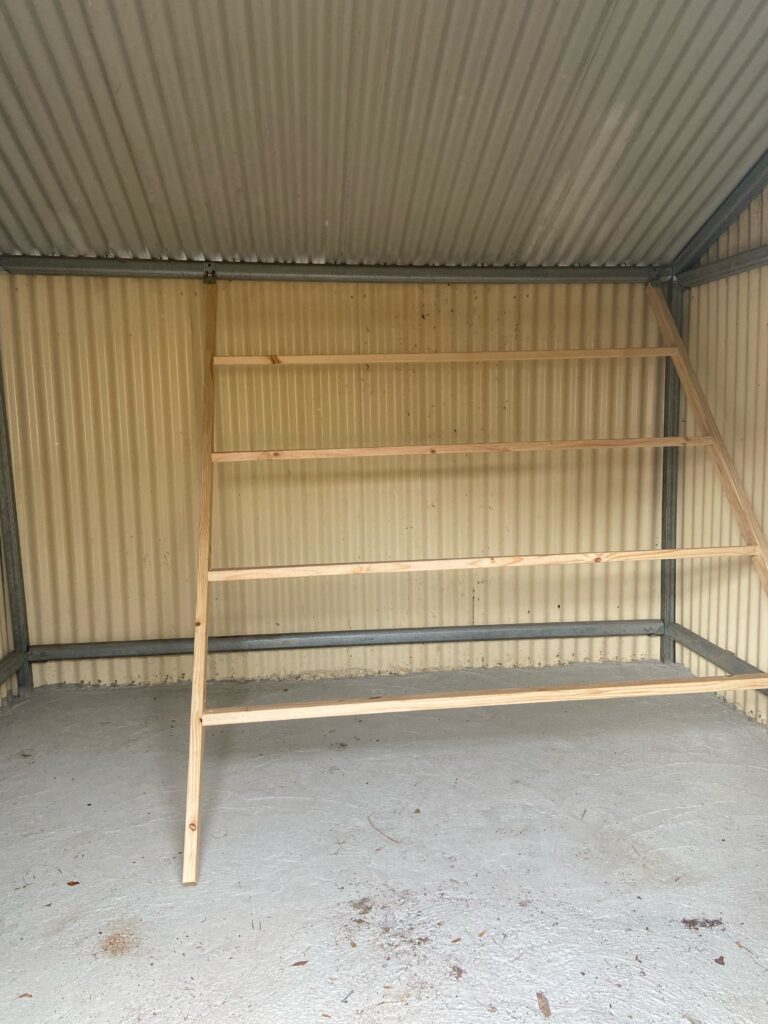
- A hinged roosting rack to make cleaning easier
- Nesting boxes that open outside the shed for egg collection, and
- A sheltered, fully enclosed caged section of the run with gated access to a larger chicken run.
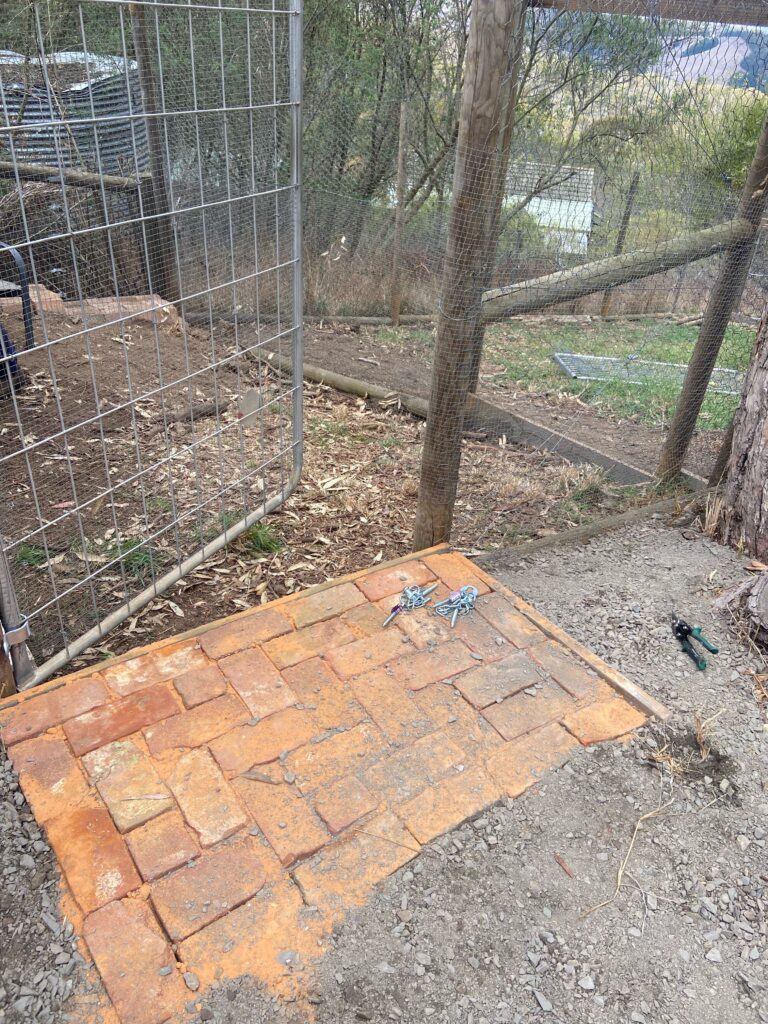
The next step was to finalise where our run would go, and then start the process of dismantling the old coop and working out what we could reuse.
Choosing the materials we could recycle
Most farms are full of half-finished projects… It’s very common to have old lumber pieces and wire set aside for an upcoming task.
In the case of our chicken coops, we had lots of Permapine posts and chicken wire to salvage. We also had several sturdy gates and bolts.
There was a slim rainwater tank to hook up to the chicken shed gutters for a constant source of fresh water, and all the feeders could be reused.
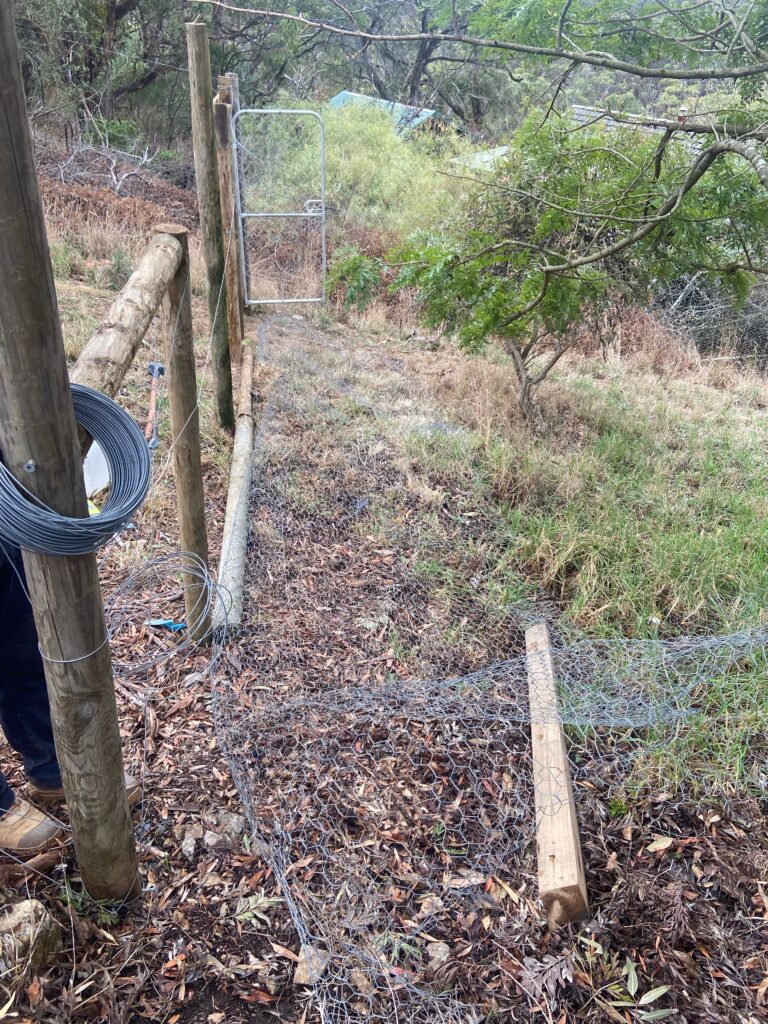
For the caged enclosure we utilised the old reo that we’d saved. We lay it down and covered it with rubble and gravel so that foxes and other predators couldn’t dig under the fences.
To raise the level of the ground in some areas and for rubble against fences we used the thousands of small rocks from all over our property.
But there were still some things we needed to buy. This was either for part of our new design, or to replace things that didn’t fit or weren’t suitable.
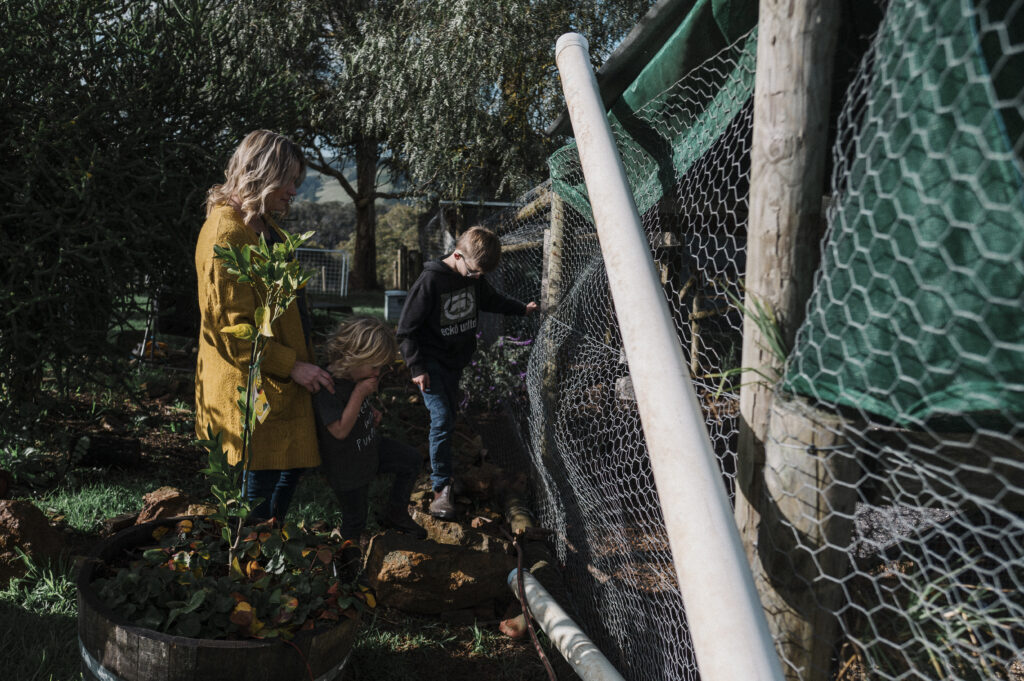
Turning our old chicken shed into two new projects
Even though the main chicken house verandah from our original coop was in great nick, we knew we couldn’t reuse it for our new coops. We didn’t want to waste it, though (it was worth around $1000 new!) so we needed to think creatively.
In the end, we took it down sheet by sheet, cut it off at ground level and lifted it to a nearby paddock. We strapped it to a few trees so it wouldn’t blow over until we had time to repurpose it.
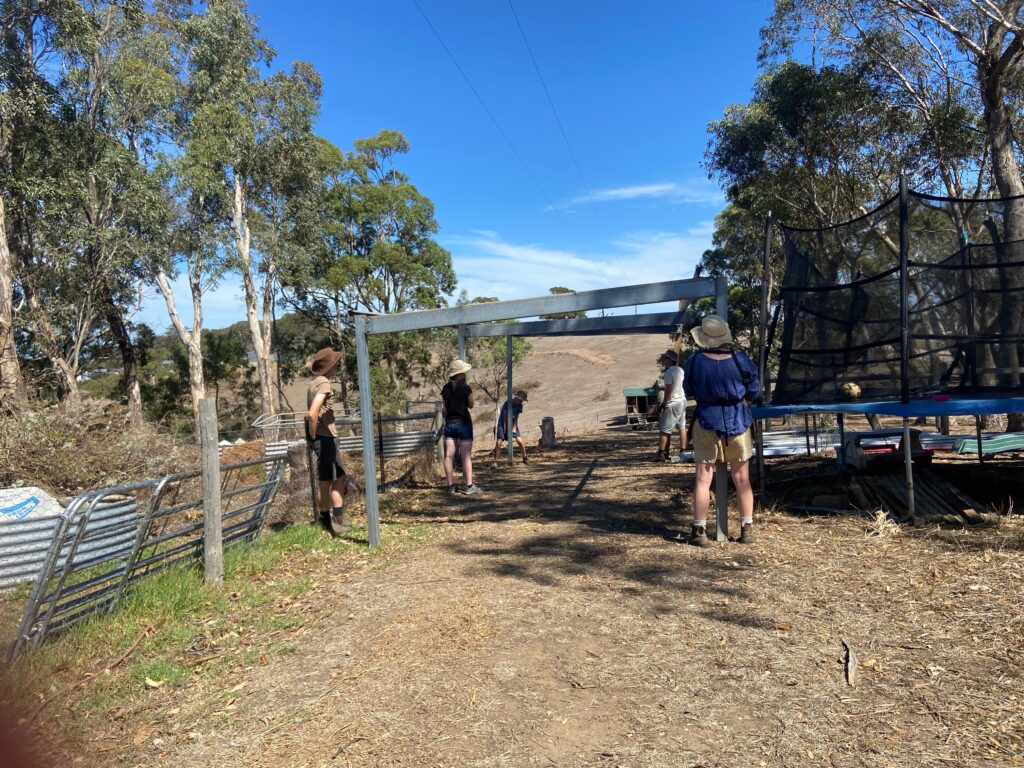
We have since turned it into a fantastic shed for our ride-ons, trailer, and chipper.
The old big chicken shed is soon going to be repurposed into a hay and wood storage shed. This has shown us that it really is possible to save thousands of dollars by being open-minded to different options.
Items we ended up buying new or sourcing second hand
Once we’d worked out what we could recycle, we wrote a list of what we needed to buy new or second hand. Plus, we finally had a location for our new chicken pen!
It was away from the house, easily accessible with enough space for the number of egg-laying hens we wanted.
- We sourced an old shed that Sam put up on an area of high ground next to our side driveway for the main hen house.
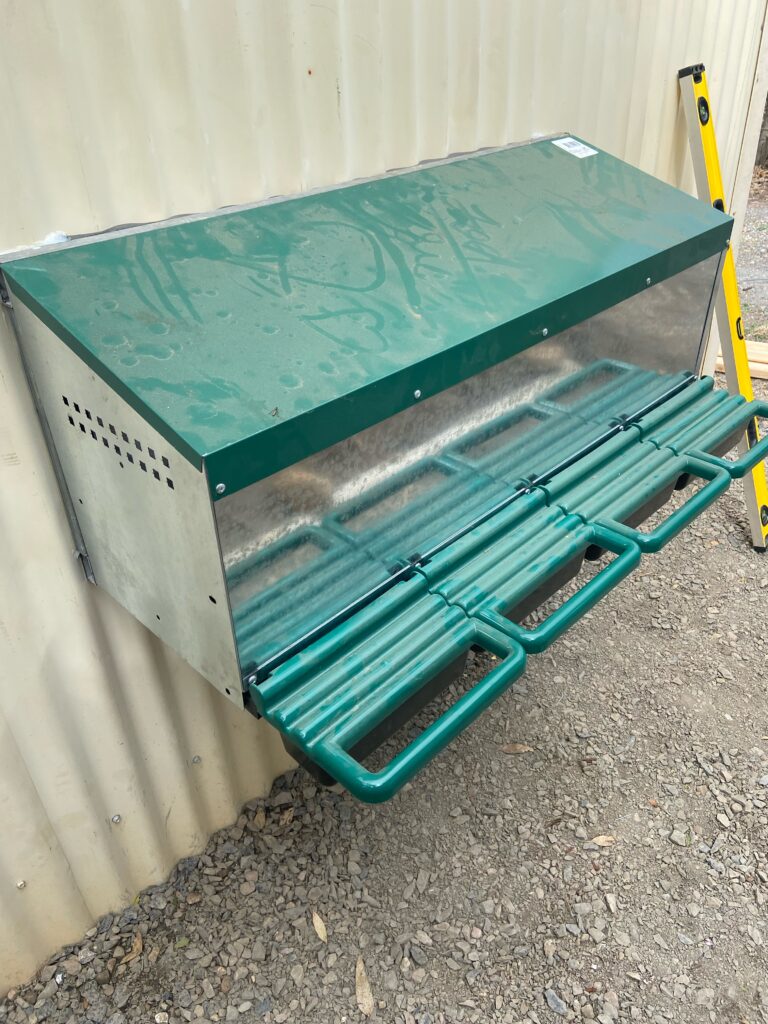
- We decided to buy some fabulous nesting boxes so you can collect eggs from outside the shed.
- We bought the wood and hinges for the roosting racks. With a clear idea of what we wanted this to turn out like, building from scratch was the best method.
- We also invested in a Gripple gun which is a brilliant tool used for tensioning fence wire. This is something Sam had wanted for ages, so it was a good time to buy it for the strainer posts on the corners of the coop.
- We needed to buy some rubble to level the shed pad (this was actually much cheaper than we expected!) and concrete to fill the shed from the inside so it was completely fox-proof.
Frustrations with using recycling materials
Saving money and being more environmentally aware are two brilliant reasons for using preloved materials for new building projects.
The truth is though that there are also some big challenges when you choose this option!
You may be restricted with particular lengths of timber or wire. Things just won’t fit as well if they are designed for another purpose or made to fit somewhere else. This can involve patching holes or finding odds and ends to make a length reach its destination.
Recycled products are also often damaged from previous use or from being dismantled. This can mean coming up with work-arounds or alternatives on the spot which can be annoying and energy draining.
Things we learnt from a DIY chicken coop
If you’re anything like us, it isn’t long into a new project that you realise that it is going to take FAR longer than you originally thought.
Sometimes this is because plans change, or you decide to upgrade part of the design. Other times the manual labour is more tedious or time consuming. Whatever the reason, it helps to have a fairly ‘relaxed’ approach to a time frame.
Another reality is that even with the best intentions to recycle and repurpose, there are always more things you need to end up buying than you first expect.
Finally, be prepared for curve balls. Once we’d finished our chicken coop, we purchased 30 hens from a veritable local farm. Unfortunately, they were in poor health and we decided to return them and wait an extra month for some from Cluck and Go. They have been awesome! We’re also able to source GMO-free and soy-free feed from them which is an added bonus.
Finishing touches to our chicken plans
There are still some parts of our coop to come back and finalise. We need to put in the extra window and replace the temporary screen door we’ve got. We also have to work out the best way to have fresh water plumbed straight into the shed from the rainwater tank… but those things can wait for now.
Our long term plan is to have pastured eggs. While our hens have plenty of space for now, we want to continue to extend their outside area to include fresh grass. We have some portable fencing that we’ll use to move them around so they have can be as healthy as possible.
I’m just grateful for all my husband’s hard work because we really did save loads of money. I think all his efforts definitely paid off!
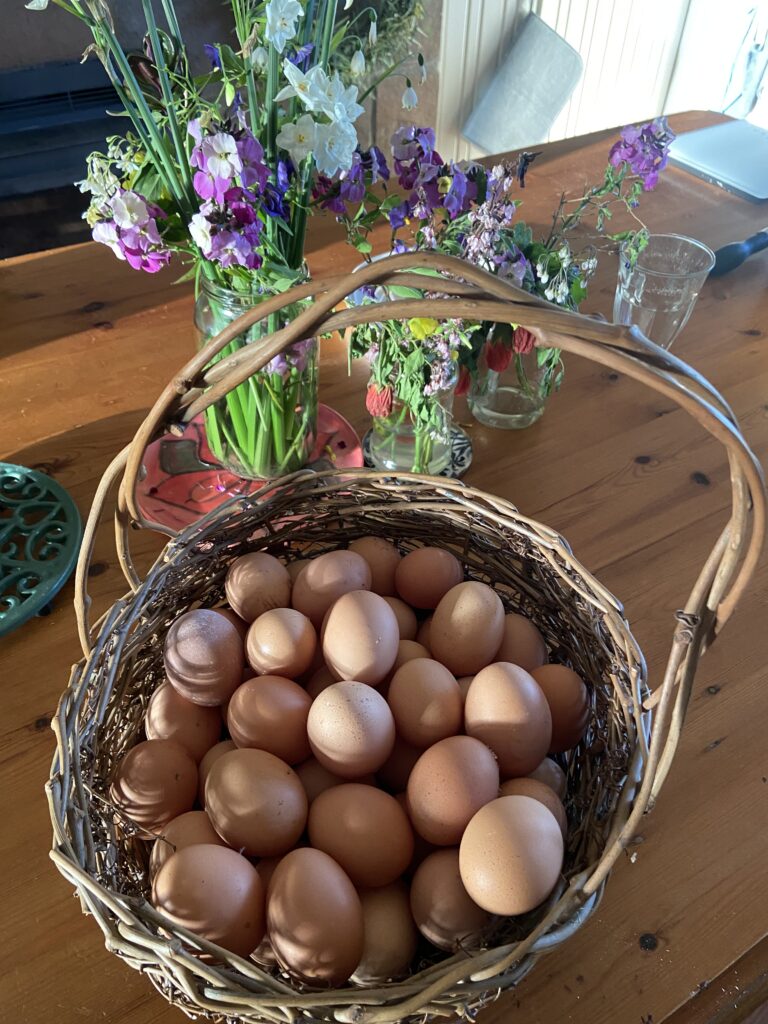
And the best news is that we now have our own egg production again with plenty of fresh eggs for our family and for our local customers!


This is a perfect guide! So easy to follow!
Thank you so much! It’s been a fun project and we’ve learnt so much doing it 😊
Love this sustainable project! It’s always good to remember to use what we have on hand first.
Yes! It’s surprising how little we had to buy and it’s a much better set up now! Thanks so much for reading 💕
Thank you so much for this! Its always helpful to be able to upcycle materials on homestead projects.
There is so much on a farm that we can reuse and recycle… sometimes it takes a bit of creativity but the savings are definitely worth it!
I love a good Pinterest worthy project but this is so practical! Thanks for sharing! We were contemplating getting chickens this year or next. New coops are so darn expensive. 🙂
We love having chickens! In Australia a dozen free range eggs costs around $9-10 at the moment so it is SO worth having our own hens. I’m glad this was practical and helpful – it was good to be able to reuse so many materials becasue then we had the money to buy the things that mattered to us (like the nesting boxes attached outside the shed).
I LOVE this!! Wonderful ways to be self-sufficient and not spend a ton of money on your homesteading dreams lol. Thanks for sharing!
Oh my… those dreams can sure get expensive! Reusing is so satisfying as well! 🙂
Love this! Such a smart and sustainable way to build a coop, great tips and so inspiring!
I’m so glad you feel inspired! Sometimes just seeing someone else do a project is enough to get me going on a job I’ve been waiting to begin! Good luck!
I so agree with you on reusing materials. I have built dozens of farm projects with used materials and it’s so handy to have a stash of used things on hand for such smaller projects. Your coop turned out great and I find it a fantastic inspiration with lots of helpful tips! My chickens are all in tractors, but sometimes I wished that I had a stationary coop again, it makes things so much easier especially in winter. I think I’ll take your cue and put this on my to do list!
Hey Heidi! We have a chicken tractor too, but we mainly use it for when one of our children wants to give some chickens special treatment!
Winter can be tough with outdoor animals – our cows, sheep, and chickens have all been standing in wet paddocks today! Good luck with your projects!